
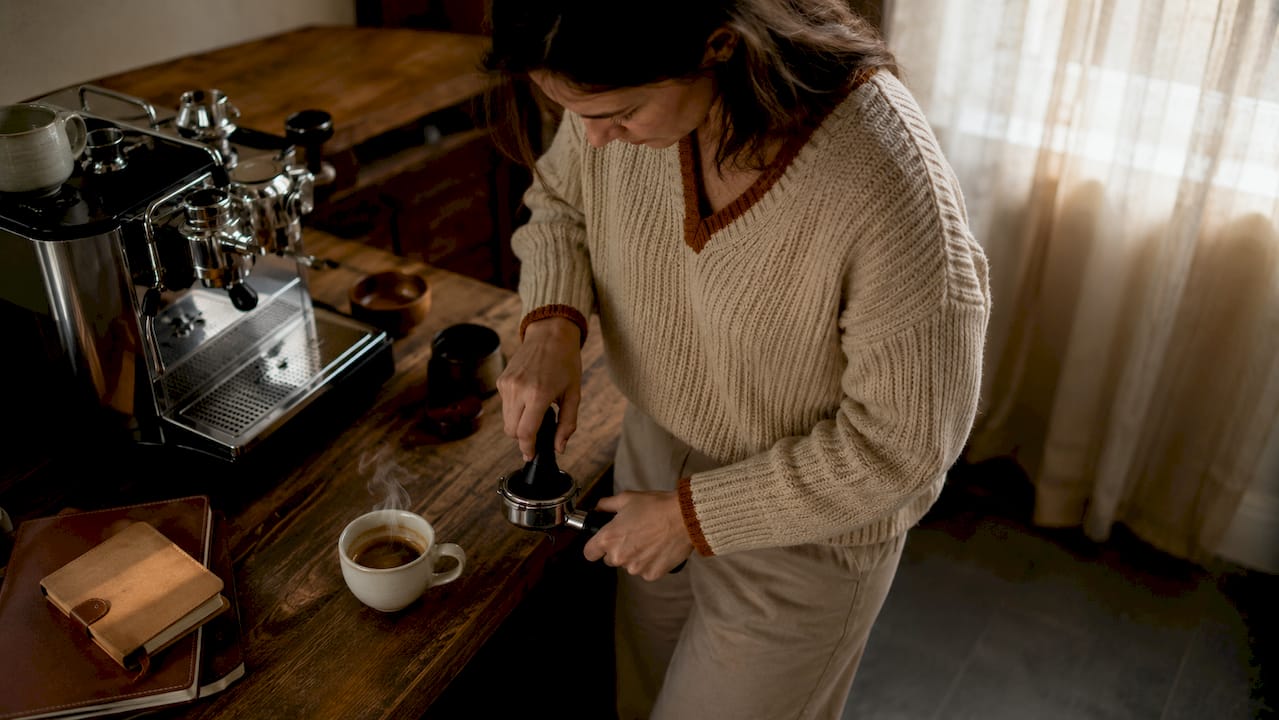
Café-quality espresso is defined by four measurable parameters: an 18 g dose, a 36 g yield, a 25–30 second extraction at 93°C under 9 bars of pressure. That precision is exactly what separates a flat, bitter shot from a balanced, aromatic one. To make café quality espresso in your home office, you need the right equipment, a systematic dialing-in process, and the discipline to change one variable at a time. This guide covers all three, so every shot you pull reflects genuine craft.
What does it take to make café quality espresso at home?
The term “café-quality espresso” refers to what specialty coffee professionals call standard extraction: a balanced shot with sweetness, acidity, and body in proportion. Achieving it at home means replicating the same dose-to-yield ratio and temperature control a trained barista uses. The good news is that the process is repeatable. You do not need a commercial machine. You need precision tools and a methodical approach.
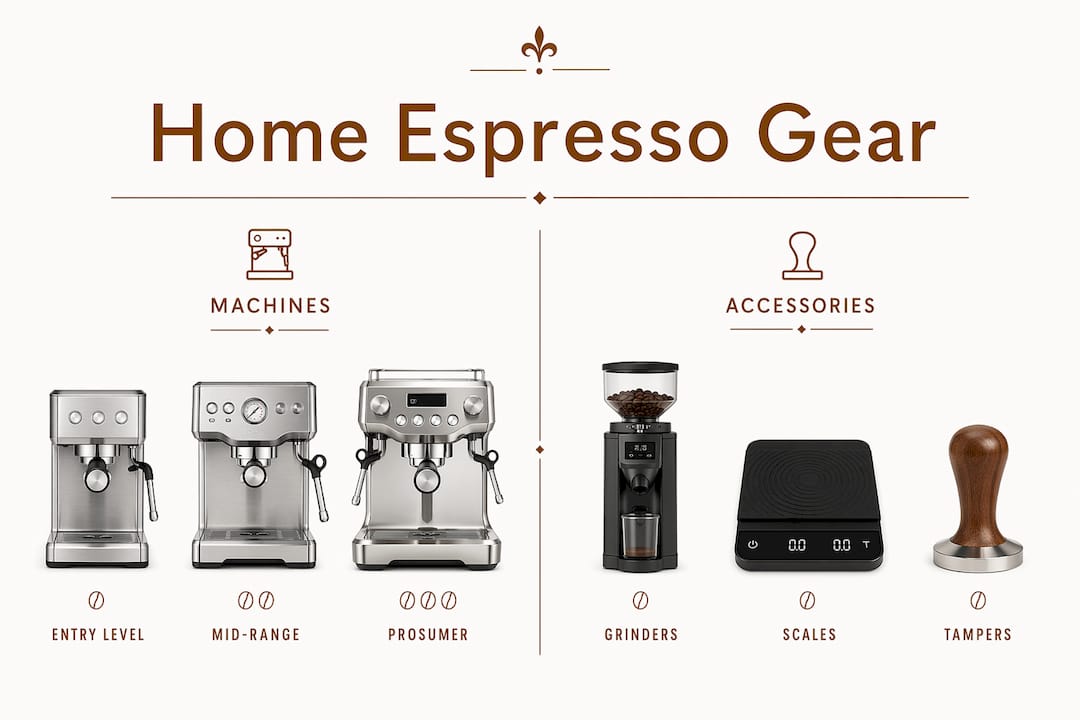
Three pieces of gear form the foundation: a capable espresso machine, a quality burr grinder, and a precision scale. Each one plays a distinct role. The machine delivers stable temperature and pressure. The grinder controls particle size, which determines how fast water flows through the puck. The scale measures dose and yield so you can diagnose every shot objectively.

Essential equipment for your home office espresso setup
Espresso machines: what actually matters
Temperature and pressure stability are the two hardware factors that most affect shot-to-shot consistency. A machine that fluctuates in brew temperature by even 2°C produces noticeably different extractions. Look for machines with PID temperature control and a pump rated for 9-bar effective pressure at the puck, not just the marketing headline of 15 or 20 bars.
Home espresso setup budgets typically start around $800 total: $100–$500 for the machine, $300–$650 for the grinder, $80–$250 for a scale, and $25–$50 for a tamper. Entry-level machines under $80 almost never deliver genuine espresso pressure or temperature standards. That price point buys a pressurized portafilter device, not a true espresso machine.
Grinders: the most underrated purchase
A better grinder impacts espresso quality more than an expensive machine. Grinders must provide micro-adjustments in grind size for effective dialing-in. Stepped grinders with coarse jumps between settings make it nearly impossible to land on the precise grind needed for a 25–30 second extraction. A stepless burr grinder gives you the control to move in tiny increments.
Scales and tampers
Precision espresso scales with 0.1 g accuracy and features like auto-tare and flow measurement are the most undervalued tools in a home setup. A low-profile design matters: the scale needs to fit under the portafilter in the drip tray so you can weigh the yield as the shot pulls. A tamper matched exactly to your basket diameter (typically 58 mm) completes the setup.
| Equipment | Entry Level | Mid-Range | Prosumer |
|---|---|---|---|
| Espresso Machine | $100–$300, basic temp control | $400–$800, PID, single boiler | $1,000+, dual boiler, full control |
| Burr Grinder | $150–$300, stepped adjustment | $350–$600, stepless, consistent | $700+, flat burr, ultra-fine control |
| Precision Scale | $30–$80, basic timer | $80–$150, auto-tare, flow rate | $150–$250, Bluetooth, smart features |
| Tamper | $25–$35, standard | $40–$80, calibrated | $80–$150, self-leveling |
Pro Tip: If your budget forces a choice between a better machine or a better grinder, always spend more on the grinder. A mid-range grinder paired with an entry-level machine outperforms the reverse combination every time.
How do you dial in espresso for consistent results?
Dialing in is the process of adjusting variables until your shot extracts within the target window. The 1:2 dose-to-yield ratio (18 g in, 36 g out) in 25–30 seconds is the anchor recipe for standard extraction. Every adjustment you make is measured against that benchmark.
Extraction time is a consequence, not a primary target. Flavor and yield weight guide your adjustments. If a shot tastes sour and thin, it is likely under-extracted. If it tastes bitter and harsh, it is likely over-extracted. Time tells you where to look. Weight tells you what actually happened.
The dial-in workflow, step by step
Follow this sequence every time you open a new bag or change your grind setting:
- Set your dose. Weigh 18 g of ground coffee into the portafilter. Keep this fixed until you have a baseline shot.
- Pull a test shot. Start the timer when you engage the pump. Stop when the scale reads 36 g in the cup.
- Check extraction time. If the shot finishes in under 22 seconds, the grind is too coarse. If it runs past 35 seconds, the grind is too fine.
- Adjust grind size only. Move one notch finer or coarser. Pull again.
- Taste and evaluate. Once the time lands in the 25–30 second window, taste the shot. Adjust dose or yield only after grind is stable.
- Log every shot. Note grind setting, dose, yield, time, and flavor notes.
Expect 5–20 shots before reaching stable, balanced extraction with a new bag. Early shots from freshly opened bags are variable because CO2 off-gassing affects flow resistance. Patience here is not optional. It is part of the process.
Pro Tip: Keep a simple notes app or a small notebook next to your machine. Write down grind setting, dose, yield, and a one-word flavor note for every shot. Patterns emerge faster than you expect, and you will stop repeating the same mistakes.
How to pull a perfect shot every time
Consistency in your physical workflow matters as much as your settings. The machine needs a full warm-up before your first shot. Most home machines require 15–20 minutes to reach stable brew temperature throughout the group head and portafilter. Pulling a shot before the machine is fully warm produces a different extraction than one pulled an hour later.
Distribution and tamping directly affect how water flows through the puck. Uneven distribution creates channels where water takes the path of least resistance, producing a mix of over-extracted and under-extracted coffee in the same shot. Use a distribution tool or the Weiss Distribution Technique (WDT) to break up clumps before tamping. Tamp with level, firm pressure, approximately 30 lbs, and keep the tamper perpendicular to the basket.
Do’s and don’ts for home espresso
- Do tare your scale before every shot, not just at the start of a session.
- Do flush the group head with a short burst of water before locking in the portafilter.
- Do change only one variable between shots during dialing-in.
- Don’t adjust grind size and dose at the same time. You will not know which change caused the result.
- Don’t judge a shot by color alone. Crema color varies with roast level and bean origin.
- Don’t skip the warm-up. A cold portafilter drops brew temperature at the puck by several degrees.
For milk drinks, assisted steaming with automatic temperature sensing helps beginners produce consistent microfoam without scalding. If your machine has a manual steam wand, aim for 140°F and keep the tip just below the milk surface to create a fine, glossy texture.
Pro Tip: Weigh your dose and yield by weight, not volume. Crema makes volumetric measurement unreliable. Two shots that look identical in the cup can differ by 5–8 g when weighed.
Choosing the right machine and grinder for your home office
The semi-automatic vs. super-automatic debate comes down to control versus convenience. Semi-automatic machines give you full control over dose, grind, and extraction. Super-automatic machines grind, tamp, and pull the shot automatically. Super-automatics are faster and easier, but they limit your ability to dial in precisely. For anyone serious about specialty espresso quality, semi-automatic is the right choice.
| Machine Type | Control Level | Best For | Price Range |
|---|---|---|---|
| Semi-automatic | High | Enthusiasts, dialing-in | $300–$2,000+ |
| Super-automatic | Low | Convenience, speed | $400–$3,000+ |
| Manual lever | Very high | Experienced home baristas | $300–$1,500 |
If your budget is limited, prioritize in this order: grinder first, then machine, then scale. A stepless grinder like the Baratza Sette 270 or the DF64 gives you the micro-adjustment range needed for espresso. Pair it with a reliable single-boiler machine and a basic 0.1 g scale, and you have a setup capable of producing genuinely excellent shots. You can learn more about brewing specialty coffee at home to complement your equipment choices with technique.
Process consistency matters more than expensive equipment for reproducible espresso at home. A $500 setup used with discipline produces better results than a $3,000 setup used carelessly.
Key takeaways
Consistent café-quality espresso at home requires a calibrated grinder, a stable machine, a precision scale, and the discipline to change one variable per shot during dialing-in.
| Point | Details |
|---|---|
| Master the 1:2 ratio | Pull 18 g in and 36 g out in 25–30 seconds at 93°C for standard extraction. |
| Prioritize the grinder | A stepless burr grinder with micro-adjustment control impacts quality more than machine price. |
| Weigh every shot | Use a 0.1 g scale to measure dose and yield by weight, not volume or color. |
| Change one variable at a time | Adjust grind size first; only move to dose or yield once extraction time is stable. |
| Warm up fully | Allow 15–20 minutes for machine and portafilter to reach stable brew temperature before pulling. |
What dialing in taught me about patience and craft
By Lily
My first six months with a home espresso machine were humbling. I had decent equipment, good beans, and still pulled sour, thin shots most mornings. The turning point was not a new machine. It was keeping a shot log.
The moment I started writing down grind setting, dose, yield, and time for every single shot, patterns became obvious within a week. I had been changing two variables at once and blaming the beans. The beans were fine. My process was not.
The second lesson was about the grinder. I upgraded from a stepped grinder to a stepless model, and the difference was immediate. Shots that previously ran too fast or too slow suddenly landed in the target window with minor adjustments. No technique change. No new machine. Just finer control over grind size.
The third lesson is the one most articles skip: bean density affects dialing-in more than most people realize. Dense, high-altitude beans grind differently than lower-density ones. When you switch bags, even within the same roast level, expect to re-dial. That is not a failure. That is the craft working as it should.
The home office espresso ritual, done with intention, becomes one of the most grounding parts of the workday. Not just a caffeine delivery mechanism. A pause between busy hours that you have earned through practice.
— Lily
Start with the right beans for your home setup
The best technique in the world cannot compensate for mediocre coffee. The foundation of every great shot is specialty-grade Arabica, roasted fresh and matched to your extraction parameters.
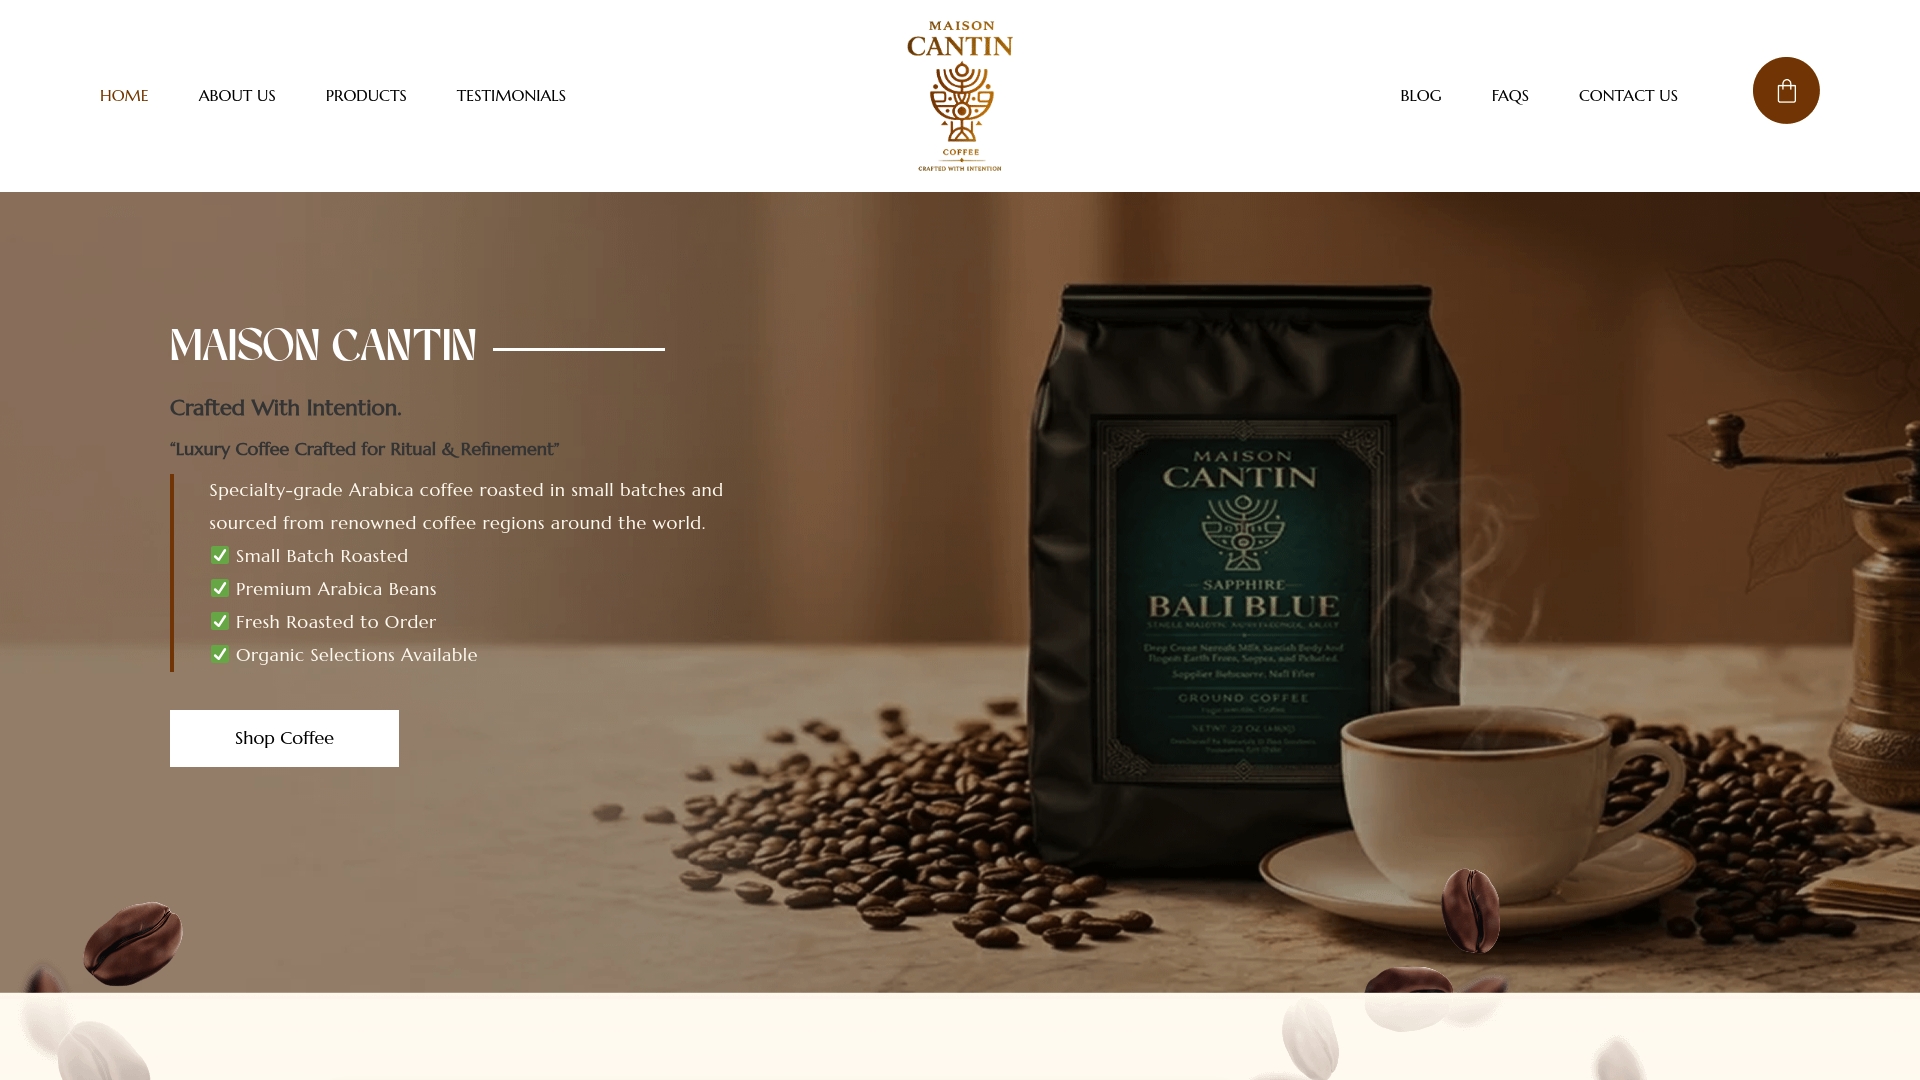
Maisoncantin roasts every order in small batches, fresh to order, so the beans you receive are at peak flavor and CO2 balance for dialing-in. The difference between a fresh-roasted specialty bean and a grocery-store bag is not subtle. It shows up in every shot. Explore Maisoncantin’s specialty-grade Arabica collection to find a roast profile suited to your espresso setup, from bright and fruit-forward to rich and chocolatey. Your home office ritual deserves a coffee that meets it at the same level of craft.
FAQ
What is the correct espresso dose-to-yield ratio?
The standard ratio is 1:2, meaning 18 g of ground coffee produces 36 g of liquid espresso. This ratio, extracted in 25–30 seconds at 93°C, defines café-quality extraction.
Why does my espresso taste sour or bitter?
Sour espresso is typically under-extracted, caused by a grind that is too coarse or an extraction time under 22 seconds. Bitter espresso is over-extracted, caused by a grind that is too fine or a shot running past 35 seconds.
How long does it take to dial in a new bag of coffee?
Expect 5–20 shots before reaching stable extraction with a new bag. CO2 off-gassing from fresh beans affects flow resistance, so early shots are often inconsistent regardless of your settings.
Do i need an expensive machine to brew espresso at home?
A mid-range machine with PID temperature control and stable 9-bar pressure is sufficient for café-quality results. Spending more on a quality stepless grinder delivers a greater improvement than upgrading the machine alone.
How do i froth milk at home for café-style drinks?
Position the steam wand tip just below the milk surface and aim for 140°F. Keep the wand at an angle to create a gentle whirlpool. Stop steaming when the pitcher feels hot to the touch, and tap it on the counter to break any large bubbles before pouring.