
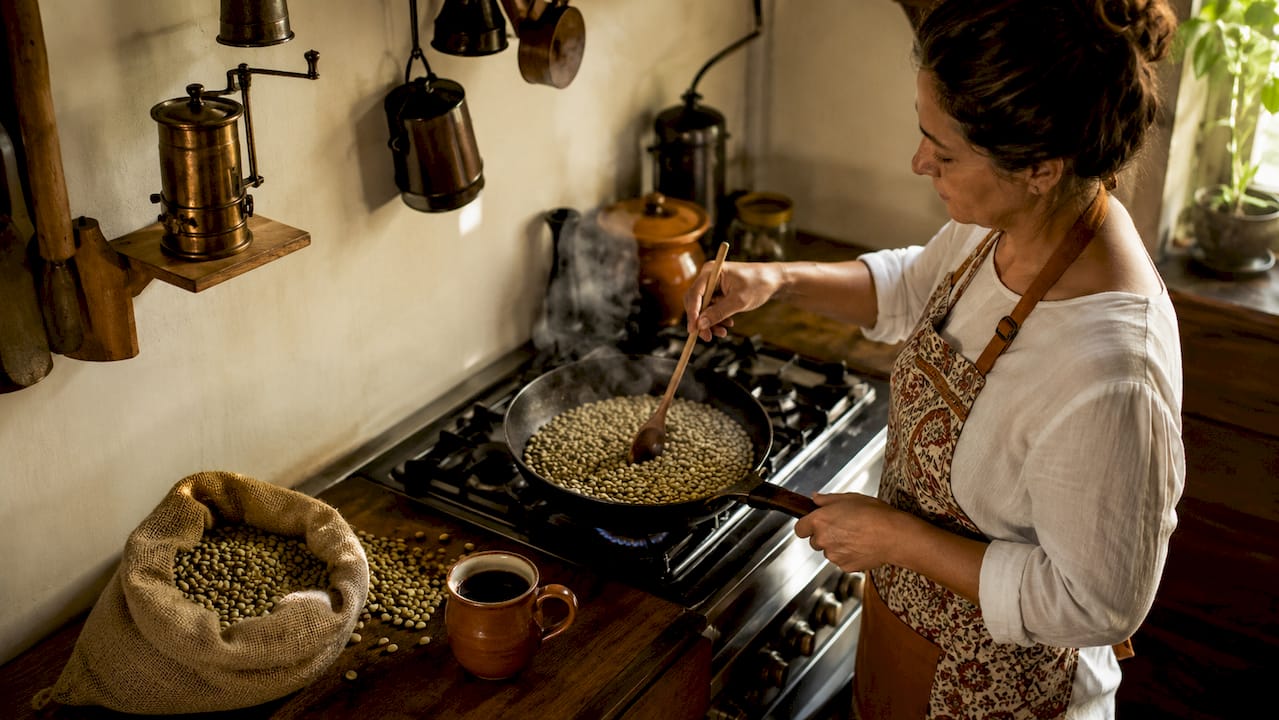
Home coffee roasting is the process of heating raw green beans at controlled temperatures to develop the flavors locked inside. This roast fresh beans in kitchen guide covers everything you need: equipment choices, a step-by-step roasting process, roast level timing, and the critical resting window that separates flat coffee from something genuinely memorable. Green beans cost $5–$10 per pound versus $15–$25 per pound for pre-roasted specialty coffee. That gap makes home roasting one of the most rewarding skills a coffee enthusiast can develop.
What equipment do you need to roast fresh beans in your kitchen?
The right setup determines whether your first roast is a revelation or a frustration. You do not need expensive gear to start. Five common kitchen tools each produce drinkable results.
- Stovetop pan or cast iron skillet: The most accessible entry point. Requires constant stirring and produces uneven results, but teaches you to read color and smell quickly.
- Popcorn popper (hot air type): The most popular beginner tool. The air circulation agitates beans automatically and produces a cleaner, more even roast than a pan.
- Conventional oven: Slower and harder to control, but handles larger batches. Expect less flavor clarity compared to air methods.
- Air fryer: A newer option that combines heat and airflow. Results vary by model, but many enthusiasts report solid light-to-medium roasts.
- Dedicated home roasters (e.g., Fresh Roast SR800, Behmor 1600 Plus): The most control, the cleanest results, and the steepest price. Worth the investment once you roast regularly.
Ventilation and safety
Ventilation is non-negotiable. Kitchen range hoods on recirculate do not remove smoke or carbon monoxide. They simply cycle the same air. Open a window, run an exhaust fan that vents outdoors, or roast in an open garage. Poor ventilation can trigger smoke alarms within minutes and create real air quality risks.
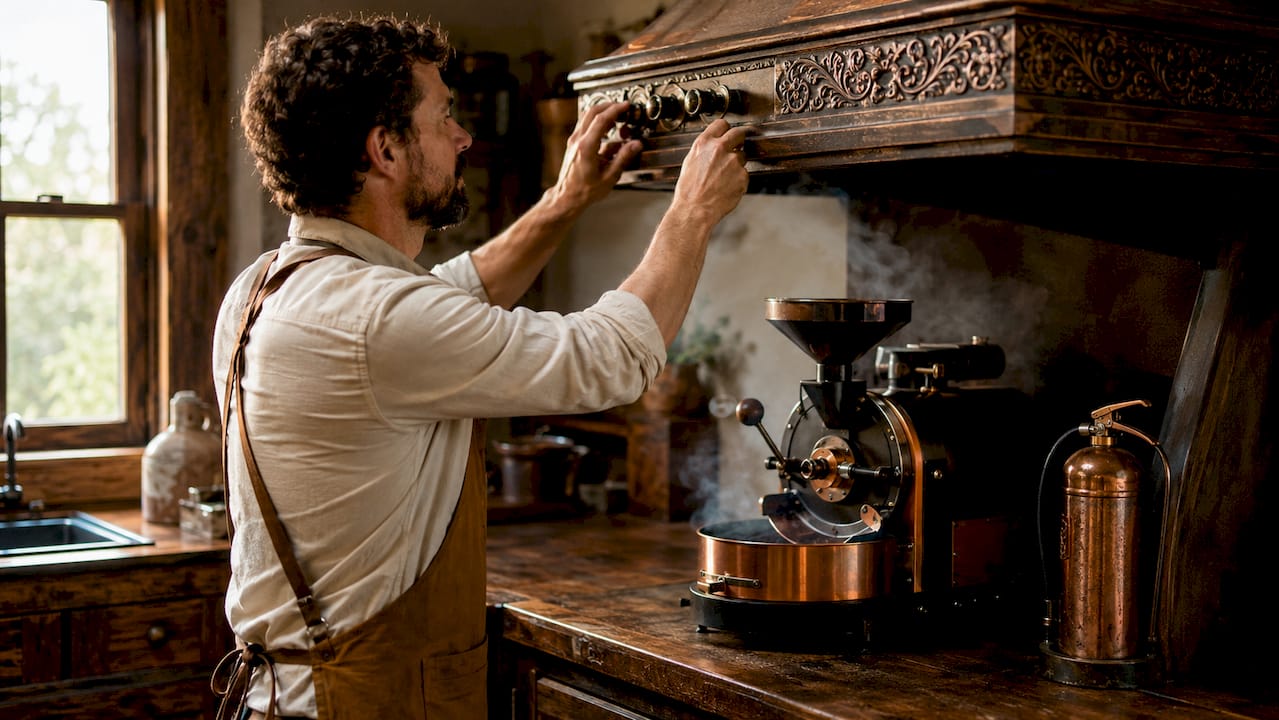
Chaff is highly flammable, and coffee oils ignite around 464°F. Keep a damp towel or a lid within reach whenever you roast on a stovetop. Never leave the roast unattended.
Pro Tip: Store green beans in a breathable cotton or burlap bag in a cool, dark place. Avoid the refrigerator. Properly stored green beans stay fresh for 6–12 months, giving you time to work through a bag without rushing.
How do you roast coffee beans step-by-step at home?
The step-by-step bean roasting process follows the same logic regardless of your equipment. Heat transforms green beans through a series of chemical reactions. Your job is to manage temperature, time, and airflow while paying close attention to what you hear and smell.
The roasting sequence
- Preheat your equipment. Bring your pan, popper, or roaster to operating temperature before adding beans. A cold start leads to uneven heat absorption.
- Measure your batch. Small batches under 150 grams promote even heat distribution. Overcrowding is the single most common beginner mistake.
- Add beans and begin agitation. Stir constantly on a stovetop. In a popper or roaster, the machine handles movement. The goal is every bean touching hot air equally.
- Monitor color and listen for first crack. Around 7–8 minutes, beans begin to pop audibly, similar to popcorn. This is first crack. Light roast ends here, at the close of first crack.
- Continue for medium or dark roast. Medium roast finishes 60–90 seconds past first crack. Dark roast continues until second crack, typically around 10–12 minutes. Second crack sounds faster and snappier than first.
- Remove and cool immediately. Pour beans into a metal colander and agitate vigorously, or use a fan to speed cooling. Active cooling within 4–5 minutes prevents residual heat from pushing the roast darker than intended.
- Rest before brewing. Leave beans in an open container or a jar with a loose lid for at least 3–4 days. Peak flavor arrives between 7–14 days post-roast.
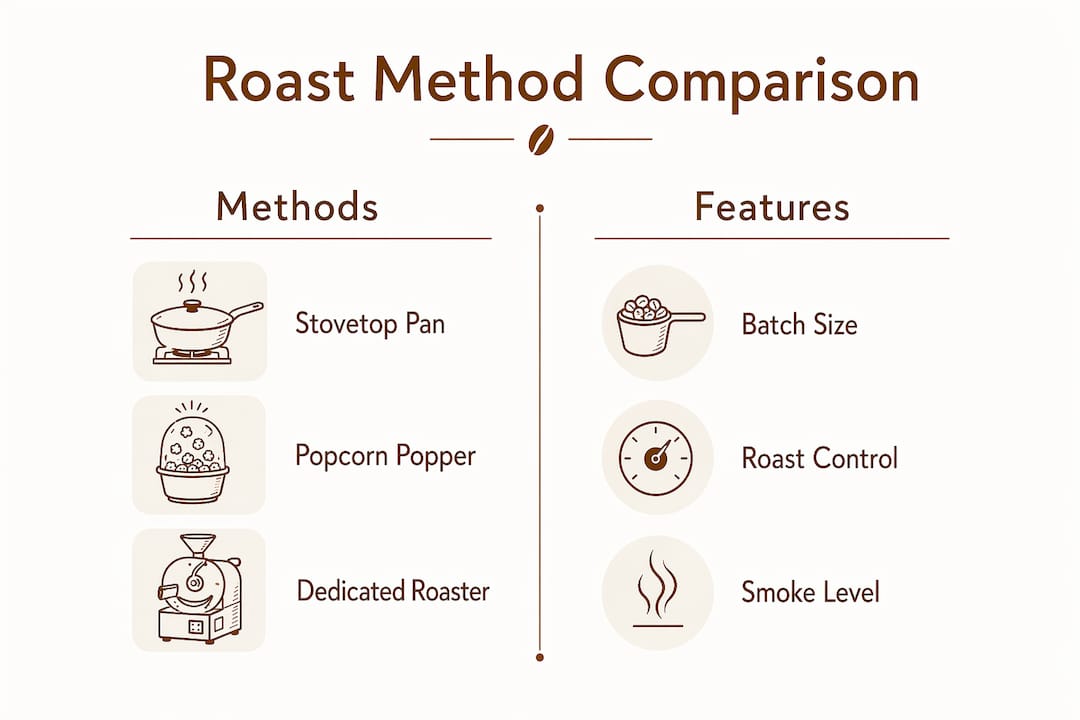
Roasting method comparison
| Method | Batch size | Roast control | Smoke level | Best for |
|---|---|---|---|---|
| Stovetop pan | 100–150g | Low | High | Learning color and smell |
| Popcorn popper | 75–100g | Medium | Medium | Consistent light roasts |
| Oven | 200–300g | Low | Medium | Larger batches |
| Air fryer | 100–150g | Medium | Low | Light to medium roasts |
| Dedicated roaster | 150–500g | High | Low | Repeatable precision |
Pro Tip: The roasting process typically takes 8–15 minutes from start to cooling. Set a timer and write down your start time. Knowing your exact roast duration is the fastest way to replicate a result you love.
What mistakes should you avoid when roasting at home?
Most failed home roasts trace back to a handful of fixable errors. Recognizing them early saves you beans and frustration.
- Overcrowding the roasting vessel. Too many beans block airflow and create hot spots. Some beans scorch while others stay underdeveloped. Keep batches under 150 grams for stovetop and popper methods.
- Skipping active cooling. Beans hold internal heat after you remove them from the source. Leaving them in a pile continues the roast. Cooling beans actively within 4–5 minutes is as critical as the roast itself.
- Brewing too soon. Freshly roasted beans release CO2 gas that interferes with extraction. Brewing within the first few days produces flat, uneven flavor. Wait at least 3–4 days, and ideally 7–14 days, for peak results.
- Ignoring ventilation. Smoke and chaff accumulate fast. Standard kitchen ventilation on recirculate does not clear the air. Open a window or roast outdoors.
- Roasting without notes. Memory is unreliable. Write down your batch weight, heat setting, roast time, and sensory observations after every session.
“Consistency over speed is the defining principle of quality home roasting. Smaller batches and careful attention to heat produce far better results than rushing a large batch.” — Bestcoffeeguide.com
Keeping a simple notebook transforms roasting from guesswork into a craft. Document color at first crack, the smell at second crack, and how the cup tastes after resting. Three or four sessions with good notes will teach you more than a dozen sessions without them. Beginners who track color, smell, and timing learn their equipment’s quirks far faster than those who roast by feel alone.
How do roast level and bean freshness affect your cup?
Roast level is the single biggest variable in flavor. Understanding what each level produces helps you match your roast to your brewing method and personal taste.
- Light roast: Bright acidity, floral and fruit notes, higher perceived sweetness. Best for pour-over methods like Chemex or V60, where clarity of flavor shines. Stops at the end of first crack.
- Medium roast: Balanced body and acidity, caramel and nut notes, approachable for most brewing methods. Finishes 60–90 seconds past first crack.
- Dark roast: Bold, low-acid, bitter-chocolate and smoky notes. Works well for espresso and French press. Reaches second crack around 10–12 minutes.
Freshness and the CO2 window
Freshly roasted beans are not immediately ready to brew. CO2 released during roasting continues escaping for several days. Brewing too soon causes uneven extraction and a hollow, gassy flavor. The peak flavor window sits between 7–21 days post-roast. Brewing at day 10 typically produces the most balanced cup.
| Roast level | Flavor profile | Peak brew window | Recommended method |
|---|---|---|---|
| Light | Floral, citrus, bright | Day 10–14 | Pour-over, Chemex |
| Medium | Caramel, nuts, balanced | Day 7–12 | Drip, Aeropress |
| Dark | Chocolate, smoke, bold | Day 5–10 | Espresso, French press |
Understanding roast profiles in depth helps you predict how a given bean will behave at each stage. Bean density also plays a role. Denser beans, typically high-altitude Arabica, absorb heat more slowly and reward a longer, gentler roast. Tracking your coffee tasting notes after each brew closes the feedback loop between roasting and drinking.
Key Takeaways
Roasting fresh coffee beans at home requires the right equipment, active cooling, and a resting period of 7–14 days to reach peak flavor and extraction quality.
| Point | Details |
|---|---|
| Cost savings are real | Green beans cost $5–$10/lb versus $15–$25/lb for pre-roasted specialty coffee. |
| Batch size matters | Keep batches under 150g for even heat distribution and consistent results. |
| Cooling is non-negotiable | Cool beans actively within 4–5 minutes to stop residual heat from over-roasting. |
| Rest before you brew | Wait 7–14 days post-roast for peak flavor; brewing too soon produces flat extraction. |
| Document every roast | Writing down color, smell, and timing is the fastest path to repeatable quality. |
Why I think most beginners rush the best part
Home roasting suits people who drink two or more cups a day and genuinely enjoy tuning variables. It is not a shortcut. It is a practice. I learned that the hard way after a string of over-roasted batches I tried to salvage by grinding finer. The cup never improved. The roast was simply wrong.
The sensory skills you build are the real reward. Learning to hear the difference between first and second crack, noticing when a batch smells grassy versus nutty, recognizing the exact shade of brown that signals your preferred roast level. These skills transfer directly to your brewing. You start understanding why a particular grind size works, why one origin tastes brighter, why resting matters.
My honest recommendation: start with a hot-air popcorn popper and a 100-gram batch of a single-origin Arabica. Roast to medium. Rest for ten days. Brew with a pour-over. The clarity of flavor from a bean you roasted yourself is genuinely different from anything pre-packaged. Once you taste it, the extra effort feels less like labor and more like ceremony.
Upgrade your gear only after you have burned through a few batches and know what you want to change. A dedicated roaster solves problems you have not encountered yet. Understand your current limitations first, then invest.
— Lily
Explore specialty Arabica beans for your home roasting practice
Maisoncantin sources specialty-grade Arabica roasted in small batches and only to order, which means every bag arrives at peak freshness. For home roasters, that standard of sourcing matters when you are selecting green beans to work with.
Maisoncantin’s guides on identifying specialty-grade Arabica help you understand what to look for before you buy green beans. The difference between commodity-grade and specialty-grade green beans shows up clearly in the roast. Better raw material produces a better cup, regardless of your equipment. Visit Maisoncantin to explore the full range of resources and premium offerings built for enthusiasts who take their coffee seriously.
FAQ
How long does it take to roast coffee beans at home?
The roasting process typically takes 8–15 minutes, followed by 3–5 minutes of active cooling. Total hands-on time per batch runs about 20 minutes.
What is the best method for beginners to roast coffee at home?
A hot-air popcorn popper is the best starting point. It agitates beans automatically, produces even heat distribution, and costs far less than a dedicated roaster.
How soon can you brew coffee after roasting at home?
Wait at least 3–4 days after roasting before brewing. Peak flavor develops between 7–14 days post-roast, when CO2 has fully off-gassed and extraction becomes consistent.
Why do freshly roasted beans taste flat right after roasting?
Freshly roasted beans release CO2 gas that interferes with water absorption during brewing. Brewing too soon results in uneven extraction and a hollow, underdeveloped flavor.
How do you store green coffee beans before roasting?
Store green beans in a breathable bag in a cool, dark, dry place. Avoid the refrigerator. Properly stored green beans remain fresh for 6–12 months.


https://shorturl.fm/WK6Zu